
My pants are tight.
My pants are already tight, as most are these days, 98% cotton and 2% spandex, denim masquerading as leggings. But this is different. And I'm not referring to the tightness of freshly washed jeans either.
Last year, the seat on my favorite pair of black pants split. Not from Thanksgiving stuffing but rather years and years of sitting and standing, sitting and standing, day in, day out. So, after months of slumming it in the bottom of my drawer, narrowly escaping the thrift store, into my suitcase they went for a little trip to my mother's sewing machine.
In the days leading up to Thanksgiving my pants hung out upstairs over a chair back so as not to be forgotten. If they only knew what was going on downstairs.
When my friend Allison saw my mother's to-do list hanging over the calendar in the kitchen, beginning with 'Monday', she said a chill ran through her. In fact, my mother began preparing for Thanksgiving long before Monday. Over the summer she cuts sweet corn off the cob and freezes it for the corn pudding, and this year she decided to bake her own bread for the stuffing, she may have ground some of the grain herself too. I'm not kidding. But this is all done with joy, and everyone who comes to dinner brings many gifts as well, sweet potatoes, braised cabbage, wild rice pilaf, pickled watermelon rind, champagne, cheese, etc. It's only in the last half hour or so that there's a mad dash to get the salads plated, corn pudding and stuffing in the oven and turkey carved.
All the while my pants hung around upstairs, bored? Lonely? Or perhaps on edge? Maybe they could smell the metal and plastic sewing machine shrouded in a floral cover only several feet away.
They should have run.
On the last day of our visit, when most of the leftovers had been eaten. My mother and I ascended the stairs to the sewing table and got to work. It was a quick procedure, find the black thread, load the bobbin, set the stitch, smooth the fabric. It was done in a flash and a half. And suddenly there they were again, good as new. My mother left and I slipped them on. Or rather, tugged them on. They used to be a little loose as I recall. They now groaned and stretched, hugging my hips with a fierce determination.
Since returning to the city, Chris and I have been on a strict diet of greens and lentils with a little chicken thrown in, and I immediately pulled out my mother's old, wood handled jump rope. If I stand in our tiny room on an angle, I can just make a full rotation.
Lets just hope I don't one day lasso the flat screen and have some explaining to do.

Thomas Keller's Pearl Onions

Green Beans with Smoked Paprika and Almonds

Almond Slivers
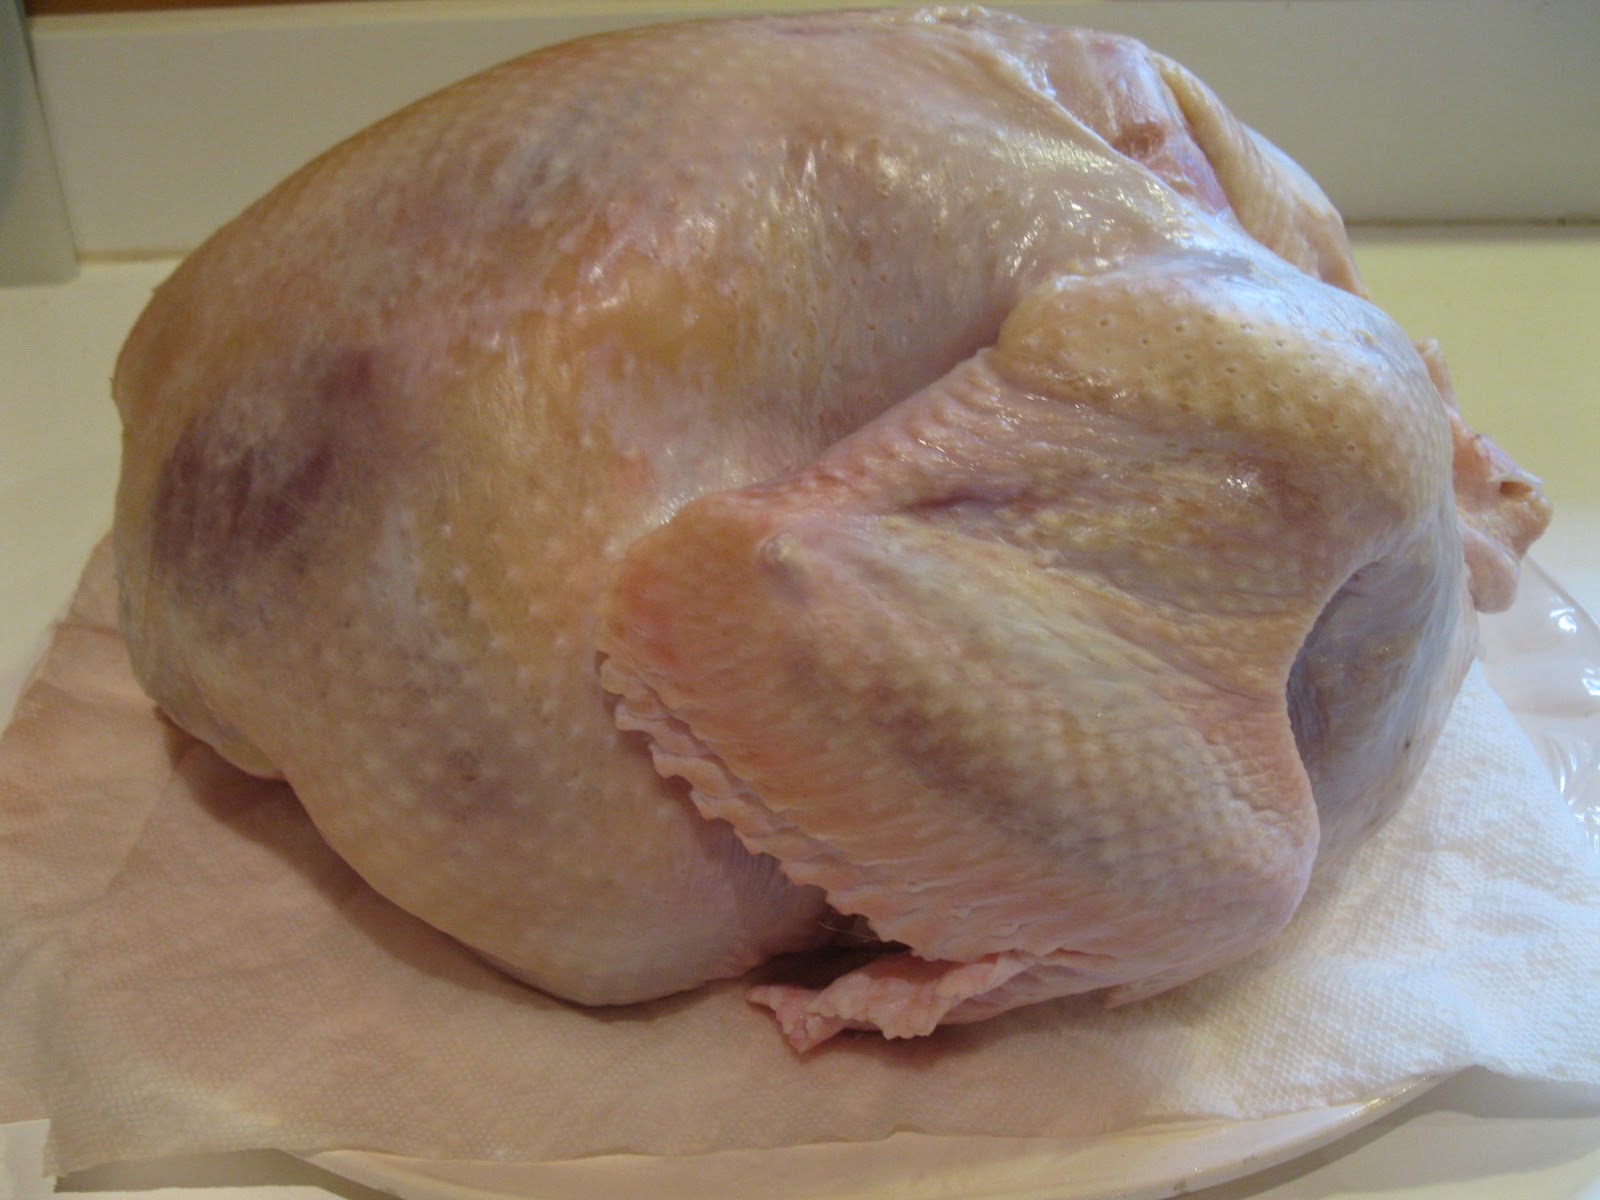
Turkey

Table

My Grandmother's Classroom Bell


